Losing or misplacing your mini projector’s remote can feel like a roadblock, especially when you’re eager to start your movie night or presentation. But don’t worry—you don’t have to let this small setback ruin your plans.
You can still take full control of your mini projector without the remote. Whether your projector has built-in buttons, supports USB devices, or connects to your smartphone, there are simple and effective ways to operate it smoothly. In this guide, you’ll discover practical methods to power on, navigate menus, and adjust settings—all without reaching for that missing remote.
Ready to unlock your mini projector’s potential with just what you have on hand? Let’s dive in.
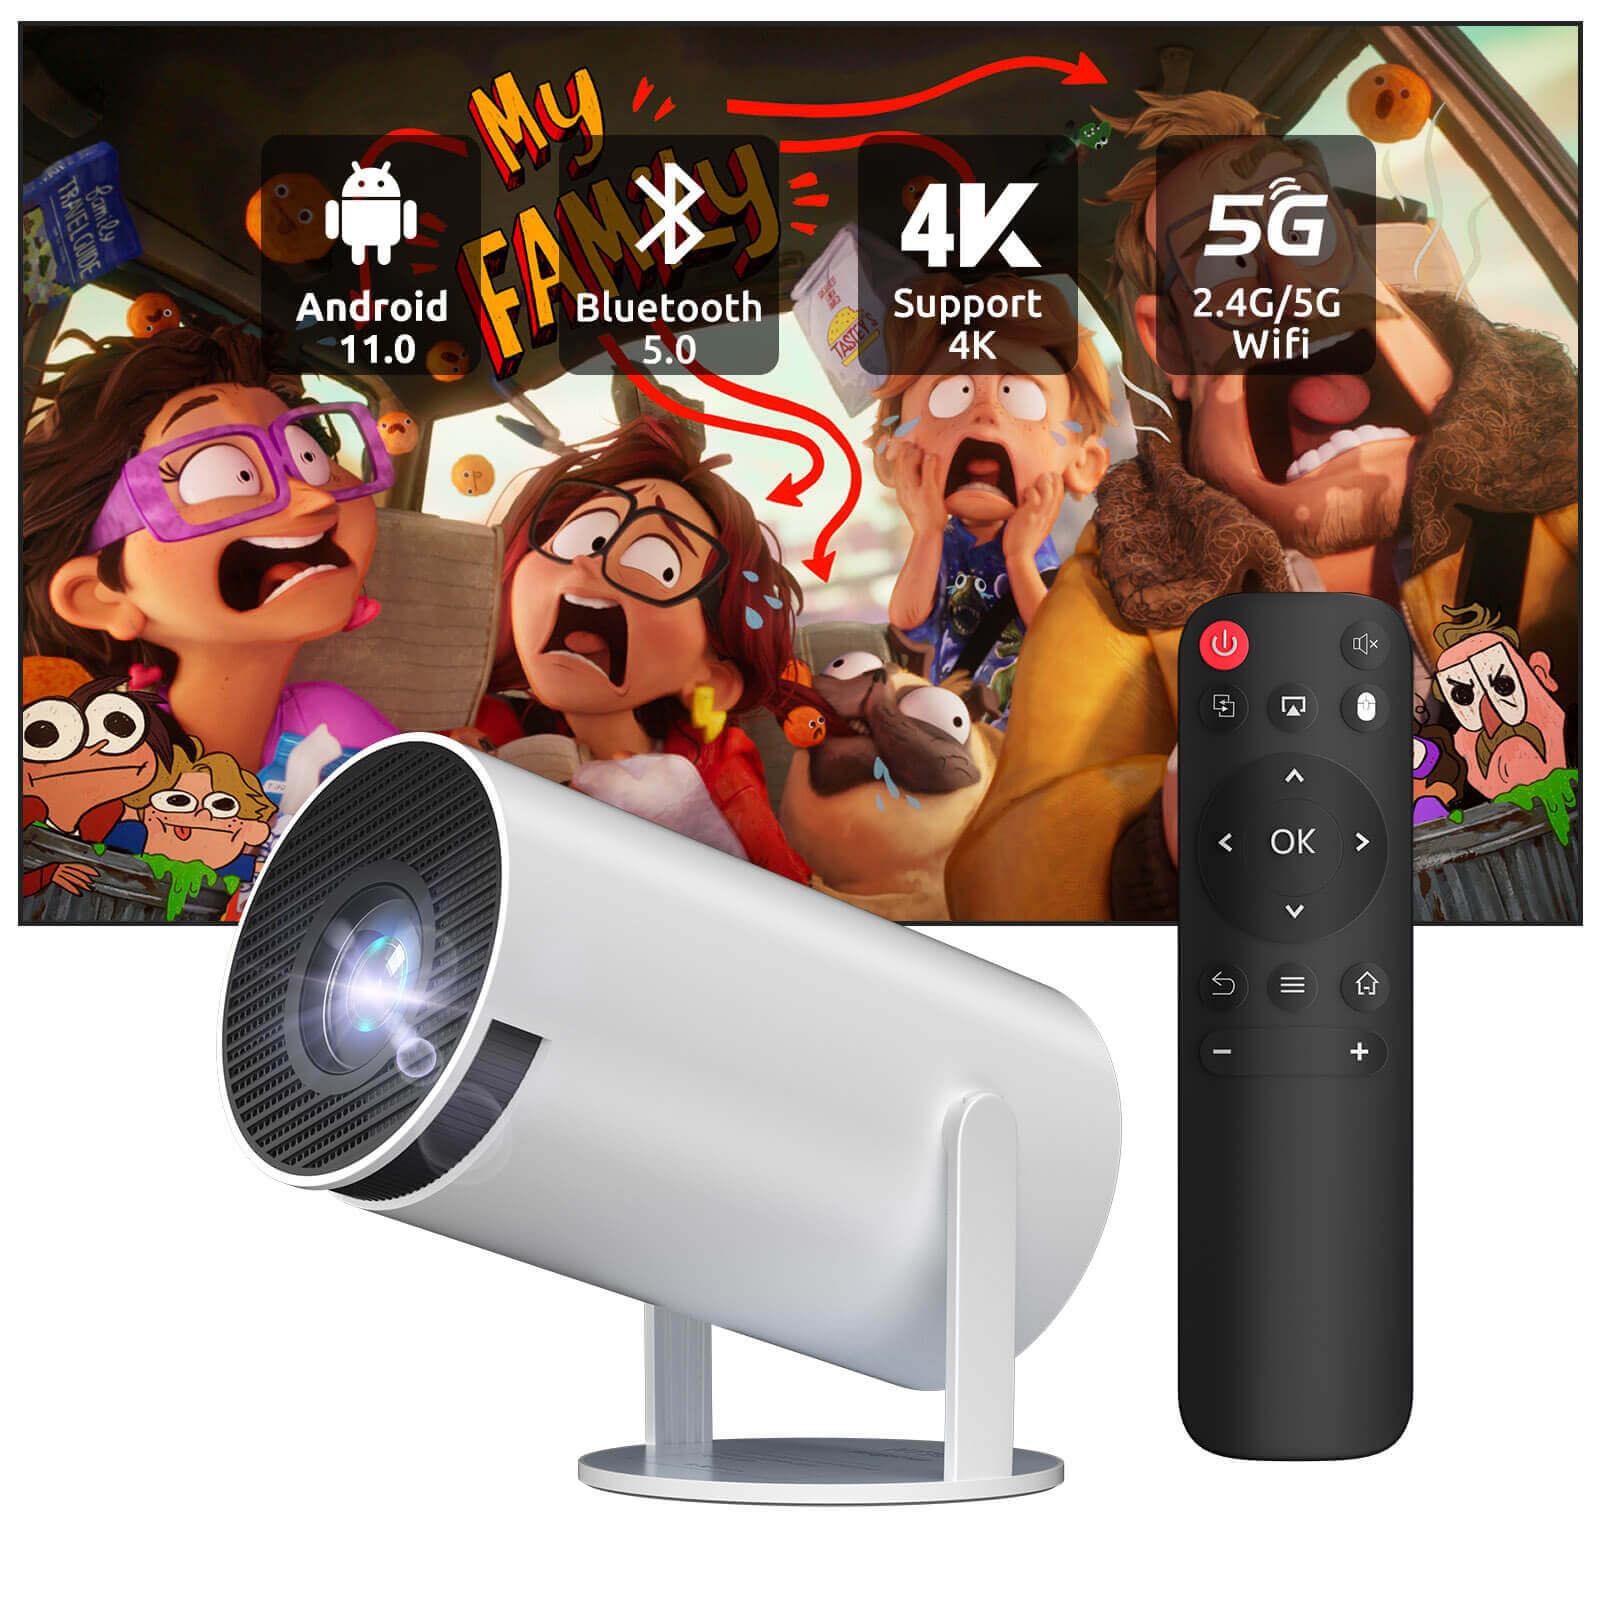
Physical Buttons On Projector
Mini projectors usually include physical buttons on the device. These buttons help you control the projector without needing a remote. Using them is simple and effective. Knowing their location and functions makes operation easier. This guide explains how to use the physical buttons on your mini projector.
Locating Control Panel
The control panel is often on the top or side of the projector. It has several buttons grouped together. Look for buttons labeled with icons or words like “Power,” “Menu,” “Volume,” and arrows. Some projectors have a small joystick instead of separate buttons. Check the edges and top surface carefully. The buttons are usually raised or have a different texture for easy finding by touch.
Basic Navigation And Settings
Press the Power button to turn the projector on or off. Use the Menu button to access the projector’s settings. Arrow buttons or the joystick help move through the menu options. Press the Enter or OK button to select an option. Use the Volume buttons to adjust sound levels. You can change input sources, adjust brightness, and set the aspect ratio from the menu. These controls cover most basic functions without a remote.

Using Usb Mouse Or Keyboard
Using a USB mouse or keyboard offers a simple way to control your mini projector without a remote. This method lets you navigate menus and select options with ease. It works well for projectors that support USB input devices. You get precise control and avoid fumbling with built-in buttons.
Connecting a mouse or keyboard is straightforward. Once connected, you can move through settings and apps just like on a computer. This option is ideal for presentations, movie nights, or any time the remote is missing.
Connecting Usb Devices
Start by locating the USB port on your mini projector. Plug in a USB mouse or keyboard directly into this port. Many projectors support both wired and wireless devices with USB receivers. After connecting, wait a few seconds for the projector to recognize the device.
If your projector has multiple USB ports, choose the one labeled for input or peripherals. Some models may need you to enable USB device support in the settings. Check your projector’s manual for specific instructions on USB compatibility.
Navigating Projector Interface
Once the USB mouse or keyboard is connected, use the mouse pointer to move through menus. Click to select items or open apps. The keyboard can help type text or use shortcut keys to control playback and volume.
The navigation feels similar to using a computer. You can adjust picture settings, switch inputs, and start or stop videos easily. This method gives a smooth experience without relying on the remote control.
Smartphone Apps For Control
Smartphone apps offer a simple way to control your mini projector without the original remote. These apps turn your phone into a remote control. You can adjust settings, switch inputs, and navigate menus easily. Many projectors support apps designed by their manufacturers. Others work with third-party apps that connect via Wi-Fi or Bluetooth. Using an app can save time and hassle, especially if the remote is lost or broken.
Official Manufacturer Apps
Many projector brands create their own control apps. These apps usually provide full control over the device. You can change volume, brightness, and input sources. They often have a clean interface designed for ease of use. Brands like Samsung, Epson, and BenQ offer official apps. These apps connect directly to your projector over Wi-Fi or Bluetooth. Check your projector’s manual or website to find the correct app.
Third-party Remote Apps
Third-party apps work with many projector models. They offer basic controls like power, volume, and navigation. Some apps support infrared (IR) control if your phone has an IR blaster. Others use Wi-Fi or Bluetooth to connect. These apps may not offer all features found in official apps. Still, they are useful if no official app exists. Search your app store for “projector remote control” apps to find options.
Connecting Phone And Projector
Start by turning on your projector and phone’s Wi-Fi or Bluetooth. Open the app and scan for nearby devices. Select your projector from the list to pair. Some projectors require you to enter a code shown on the screen. Others connect automatically. After pairing, you can control the projector from your phone. Keep your phone close to maintain a strong connection.

Wireless Projection Features
Wireless projection features let you connect your mini projector without using a remote. These features use your smartphone or tablet to share your screen. This method is simple and avoids the need for extra cables. It works well for presentations, movies, or gaming.
Most modern mini projectors support wireless projection through popular standards like AirPlay and Miracast. These options make it easy to display content from your phone or other devices. Setting up screen mirroring is usually quick and requires just a few steps.
Airplay For Iphone
AirPlay is Apple’s wireless streaming technology. It allows iPhone users to send videos, photos, and music to the mini projector. Your projector must support AirPlay or connect to an Apple TV device. To use AirPlay, open the Control Center on your iPhone and select Screen Mirroring. Then, choose your projector from the list. The content will appear on the projector screen instantly.
Miracast For Android
Miracast is a wireless display standard for Android devices. It mirrors your phone or tablet screen to the mini projector. Most Android phones support Miracast under names like Smart View or Cast Screen. To connect, enable screen casting on your device and select your projector from the available devices. Your screen will appear on the projector without any cables.
Screen Mirroring Setup
Start by turning on your mini projector and enabling its wireless display mode. Check the projector’s menu or app for this option. Next, open the screen mirroring feature on your smartphone or tablet. Select the projector from the device list. Wait for the connection to establish. Adjust the projector’s focus and display settings for the best image. Now, enjoy your content wirelessly, no remote required.
Powering On Without Remote
Powering on a mini projector without its remote is simple with the right approach. Many mini projectors include physical buttons on the unit. These buttons allow you to turn the device on or off and adjust basic settings. Knowing how to use these buttons can save time and avoid frustration when the remote is missing or broken.
Some projectors also support alternative power methods. These methods can include connecting external devices or using smartphone apps. Understanding these options helps keep your projector ready to use anytime.
Using Physical Power Button
Most mini projectors have a power button on the body. This button is usually on the side or top of the device. Press and hold the button for a few seconds. The projector should light up and start projecting.
If the projector does not turn on, check if it is plugged into a power source. Some models need to be connected to a charger or USB power supply. Once connected, try pressing the power button again.
Alternative Power Methods
Some mini projectors can power on using external devices. Connecting a USB mouse or keyboard might wake the projector. These devices can also help control the projector without a remote.
Smart projectors may allow powering on via smartphone apps. Download the app recommended by the projector brand. Use the app to turn on and control the projector wirelessly.
Tips For Lost Remote
Losing the remote for your mini projector can feel frustrating. It limits easy access to features and settings. Fortunately, there are ways to manage without it. These tips help you keep control and enjoy your projector smoothly.
Temporary Control Solutions
Look for physical buttons on your projector body. They often let you turn it on and off. You can also change volume and switch inputs. Some models have a small joystick or directional pad. These controls help you navigate menus and settings.
Try connecting a USB mouse or keyboard. Many projectors support USB devices for control. Use the mouse to move the cursor or select options. Keyboards may let you type or use shortcuts. This method offers quick and easy control.
Smartphone apps can also work as remote controls. Check if your projector supports a dedicated app. Download it from your phone’s app store. Connect your phone and projector to the same Wi-Fi network. The app will let you adjust settings and play content.
Ordering Replacement Remotes
Find the exact model number of your mini projector. It is usually on a label or in the manual. Use this number to search for replacement remotes online. Official brand websites or trusted retailers often sell them.
Choose remotes that match your projector’s model for full compatibility. Read product reviews before buying. Some remotes support universal codes for multiple devices. This may be a good backup option.
Order from reliable sellers with return policies. This ensures you can exchange the remote if it does not work. Keep your projector’s manual handy for setup instructions. This makes pairing the new remote easier.
Checking Projector Manual
Checking your mini projector’s manual is the first step to operate it without a remote. The manual holds important details about control options and settings. It guides you on how to use the projector’s built-in buttons or alternative methods. Reading the manual saves time and avoids guesswork.
Finding Control Options
The manual shows where the physical buttons are on your projector. Usually, you can find power, menu, volume, and input buttons. Some projectors have a joystick or touch panel for navigation. The manual explains how to use these controls to change settings without a remote.
Look for sections about manual controls or troubleshooting. They often include step-by-step instructions. You might also find info on connecting a USB mouse or keyboard for easier control. This helps you navigate menus just like using a remote.
Manufacturer Support Resources
The manual often lists support resources from the manufacturer. You can find contact info, website links, or app recommendations. Some brands provide smartphone apps to control the projector remotely. These apps work via Wi-Fi or Bluetooth connection.
Check if the manual mentions downloadable apps or firmware updates. Manufacturer websites may have user guides, FAQs, and video tutorials. Using these resources helps you manage the projector without a remote with confidence.
Frequently Asked Questions
Can I Use My Projector Without The Remote?
Yes, you can use a projector without the remote by pressing its physical buttons, connecting a USB mouse or keyboard, or using a smartphone app if supported. Check your manual for specific control options and compatibility with wireless features like AirPlay or Miracast.
How To Control Your Projector If You Lost The Remote?
Use the projector’s physical buttons to control basic functions. Connect a USB mouse or keyboard if supported. Install the manufacturer’s smartphone app for remote control. Use AirPlay or Miracast to mirror your phone screen. Check the user manual for specific options.
How Do I Use My Mini Projector With My Phone?
Download the projector’s app and connect your phone and projector to the same Wi-Fi network. Use the app or screen mirroring to project content. Alternatively, connect via HDMI or USB-C with an adapter. Follow your projector’s manual for specific instructions.
How To Turn Up A Projector Without A Remote?
Use the projector’s physical buttons to power it on and adjust settings. Connect a USB mouse, keyboard, or use a smartphone app if supported. Check for Wi-Fi features like AirPlay or Miracast for wireless control. Always refer to your projector’s manual for specific instructions.
Conclusion
Using a mini projector without a remote is simple and practical. Physical buttons on the device let you control basic functions easily. Connecting a USB mouse or keyboard adds more control options. Many projectors also support smartphone apps for remote-like use.
Wireless features like AirPlay or Miracast help with screen mirroring and navigation. Always check your projector’s manual for specific instructions. These methods keep your viewing experience smooth without needing the remote. Try one or combine them to find what works best for you.
Enjoy your projector hassle-free.